


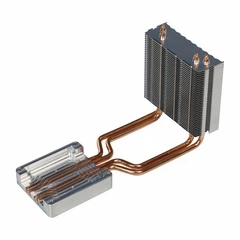
As a supplier of Versatile Water Cooling Plates, I'm excited to share with you a comprehensive guide on how to install these essential cooling components. Versatile Water Cooling Plates are crucial for maintaining optimal temperatures in various applications, from electronic devices to industrial machinery. In this blog post, I'll walk you through the installation process step by step, ensuring that you can achieve efficient and reliable cooling for your equipment.
Step 1: Gather the Necessary Tools and Materials
Before you begin the installation process, it's important to gather all the tools and materials you'll need. Here's a list of items you should have on hand:
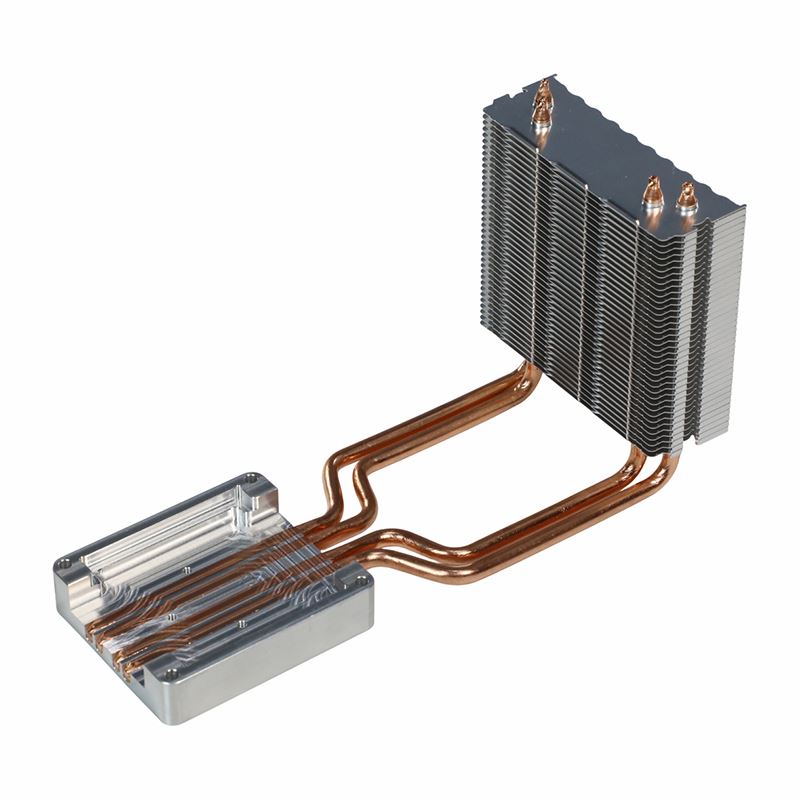
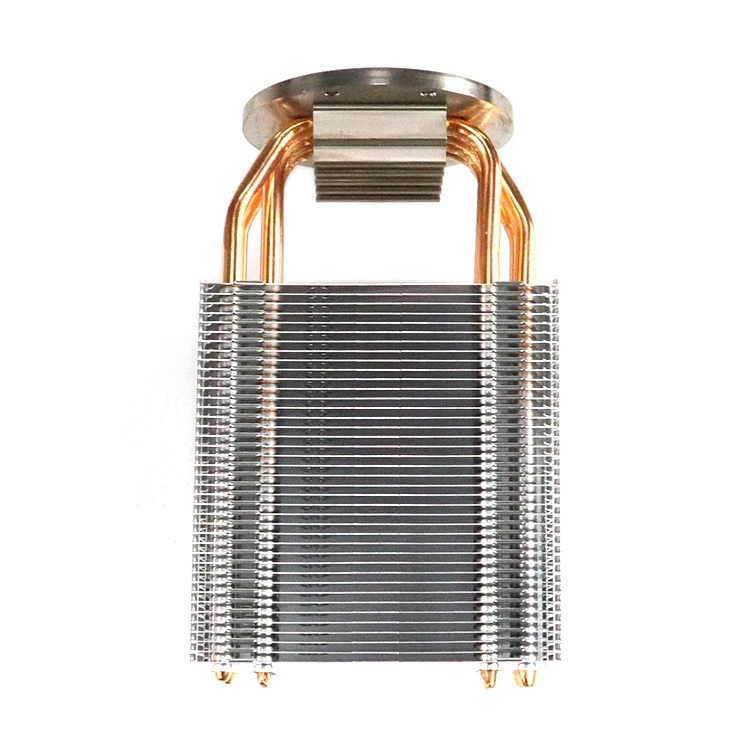
- Versatile Water Cooling Plate
- Screwdriver or Allen wrench (depending on the mounting method)
- Thermal paste
- Silicone gaskets or O-rings (if required)
- Water pump
- Tubing
- Hose clamps
- Power supply for the water pump
Step 2: Prepare the Surface
The first step in installing a Versatile Water Cooling Plate is to prepare the surface where it will be mounted. This surface should be clean, flat, and free of any debris or contaminants. Use a clean cloth or alcohol wipe to clean the surface thoroughly. If the surface is uneven, you may need to use a sandpaper or file to smooth it out.
Step 3: Apply Thermal Paste
Thermal paste is used to improve the thermal conductivity between the water cooling plate and the device it's cooling. Apply a thin layer of thermal paste to the surface of the water cooling plate. Make sure the thermal paste is evenly distributed and covers the entire contact area.
Step 4: Mount the Water Cooling Plate
Once the surface is prepared and the thermal paste is applied, it's time to mount the water cooling plate. Carefully place the water cooling plate on the prepared surface, aligning it with the mounting holes. Use the appropriate screws or bolts to secure the water cooling plate in place. Make sure the screws are tightened evenly to avoid any uneven pressure on the plate.
Step 5: Connect the Tubing
After the water cooling plate is mounted, it's time to connect the tubing. The tubing is used to circulate water between the water cooling plate and the water pump. Cut the tubing to the appropriate length and connect it to the inlet and outlet ports of the water cooling plate. Use hose clamps to secure the tubing in place.
Step 6: Install the Water Pump
The water pump is responsible for circulating water through the water cooling system. Install the water pump in a suitable location near the water cooling plate. Connect the tubing from the water cooling plate to the inlet and outlet ports of the water pump. Make sure the connections are secure and there are no leaks.
Step 7: Fill the System with Water
Once the water pump is installed and the tubing is connected, it's time to fill the system with water. Use a funnel to pour water into the water pump reservoir. Make sure the water level is above the minimum mark on the reservoir.
Step 8: Prime the Water Pump
Before turning on the water pump, it's important to prime it. Priming the water pump ensures that it's filled with water and ready to circulate. To prime the water pump, turn it on and let it run for a few minutes. If the water pump doesn't start or there are air bubbles in the tubing, you may need to repeat the priming process.
Step 9: Test the System
After the water pump is primed, it's time to test the system. Turn on the power supply for the water pump and let the system run for a few minutes. Check for any leaks or abnormal noises. If everything looks and sounds normal, you can proceed to the next step.
Step 10: Monitor the Temperature
Once the system is running, it's important to monitor the temperature of the device being cooled. Use a temperature sensor or a thermal imaging camera to check the temperature. If the temperature is too high, you may need to adjust the water flow rate or the cooling capacity of the water cooling plate.
Additional Considerations
- Maintenance: Regular maintenance is essential for ensuring the long-term performance of your water cooling system. Check the water level in the reservoir regularly and top it up if necessary. Clean the water cooling plate and the tubing periodically to remove any debris or contaminants.
- Compatibility: Make sure the Versatile Water Cooling Plate you choose is compatible with your device and the cooling requirements. Consider factors such as the size, shape, and thermal conductivity of the water cooling plate.
- Safety: When working with water cooling systems, it's important to follow safety precautions. Make sure the power supply is turned off before making any connections or adjustments. Avoid getting water on any electrical components.
Related Products
If you're interested in other cooling solutions, we also offer a range of high-quality heat sinks, including the Circular Base LED Heat Sink, LED Lighting Aluminum Heat Pipe Heatsink, and High-power Air-cooled Laser Heatsink. These heat sinks are designed to provide efficient cooling for a variety of applications.
Conclusion
Installing a Versatile Water Cooling Plate is a relatively straightforward process that can significantly improve the cooling efficiency of your device. By following the steps outlined in this blog post, you can ensure a successful installation and enjoy reliable cooling performance. If you have any questions or need further assistance, please don't hesitate to contact us. We're here to help you find the right cooling solution for your needs.
References
- Cooling Technology Handbook, Second Edition, by Reinhard Radermacher, Eckhard A. Groll, and Jan F. Kreider
- Thermal Management of Electronic Systems, by Avram Bar-Cohen and Andrew D. Kraus